
This procedure explains how to view the requested documents and import them.
View and import the requested documents #
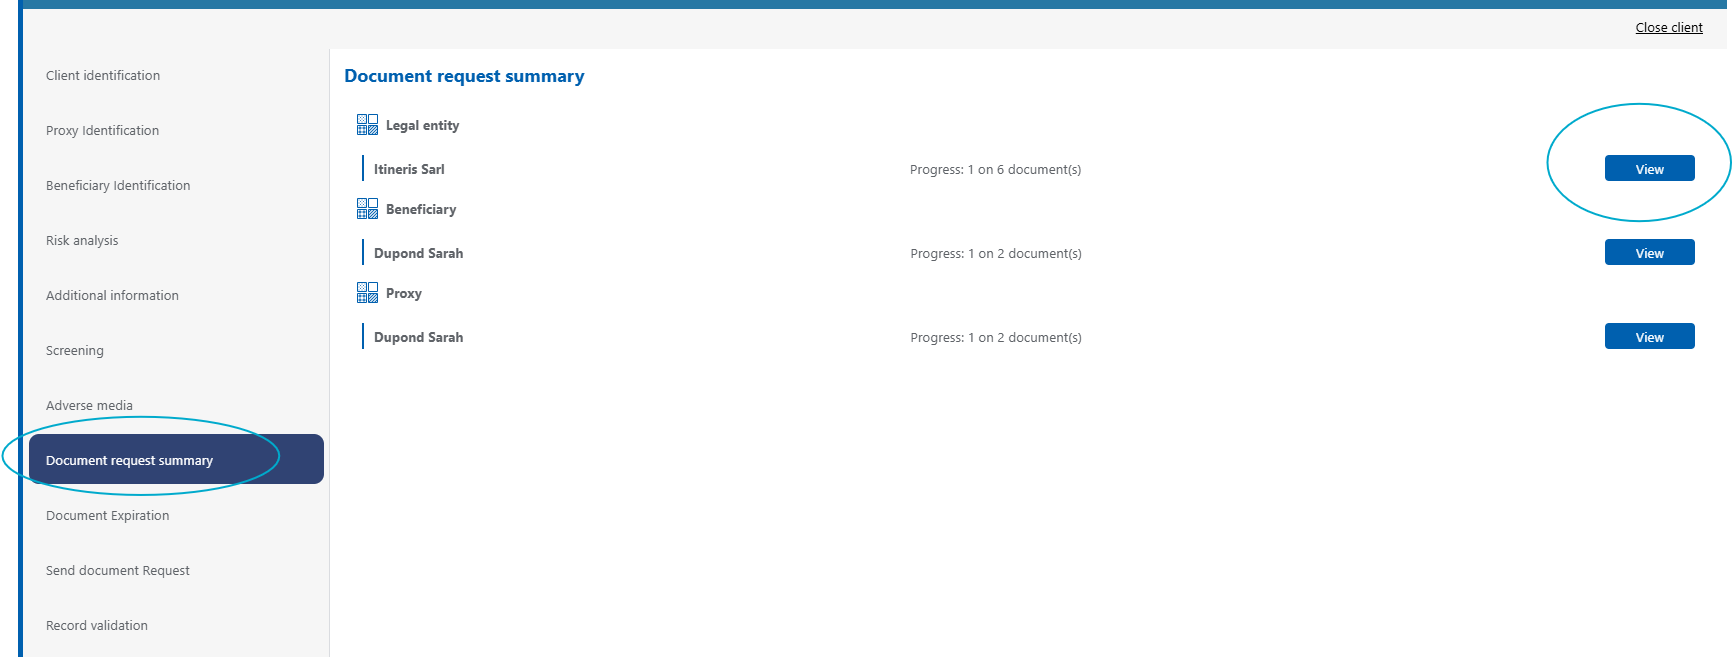
1. In the client folder, open the «Document Request Summary» section.
2. Click «View» to see the expected documents.
3. You can attach a document by clicking on «Add file» and view uploaded documents by clicking on the file name.
4. If a document request is not applicable, you can click on «N/A» next to the relevant request. This will update the document counter, treating that request as if it does not exist.

When you attach a file, you can enter the document's date and its expiry date.
Entering an expiry date is mainly useful for ID cards. This will allow you to receive alerts within the «Document Expiry» menu.»
Please note: You can also attach the necessary documents via the Identification tab, below the client's identification details.
Import a new version of a document #
1. In the client folder, open the «Document Request Summary» section.
2. Click «View» to see the expected documents.
When a document is already attached, click «New» to upload a new version of the file.
This procedure allows you to attach a new document without deleting the old one, which will appear as «Archived» within the «Version» tab.»
Good to know #
You can import any type of document into the platform (PDF, PNG, JPEG, ZIP, XLSX, etc.).
If you wish to import multiple documents for the same application, it is recommended to use a compressed folder in ZIP or RAR format.
You can also directly download a folder containing all documents attached for a client, organised as they are in the application. To do this, simply go to the options on the file, located at the bottom of the left-hand column within the client's file, and then click on «Download all files from the file».